How do I get my gaming console or other smart device on the internet?
11130 views | 5 Vote this question as useful. 8 Vote this question as not useful. | Last updated on May 29, 2025
How do I connect to the campus WiFi?
6827 views | 4 Vote this question as useful. 7 Vote this question as not useful. | Last updated on Aug 20, 2025 BishopNet Wifi Internet WiFi
What happens to my Microsoft 365 account when I graduate?
6478 views | 0 Vote this question as useful. 0 Vote this question as not useful. | Last updated on May 08, 2024 Microsoft
What if the class I want to add is full? (Wait List)
5891 views | 1 Vote this question as useful. 1 Vote this question as not useful. | Last updated on Jan 23, 2025 Self-Service Student Self-Service
Is there a WiFi network for guests to use?
4744 views | 2 Vote this question as useful. 4 Vote this question as not useful. | Last updated on Jan 24, 2024 BishopGuest Wifi WiFi
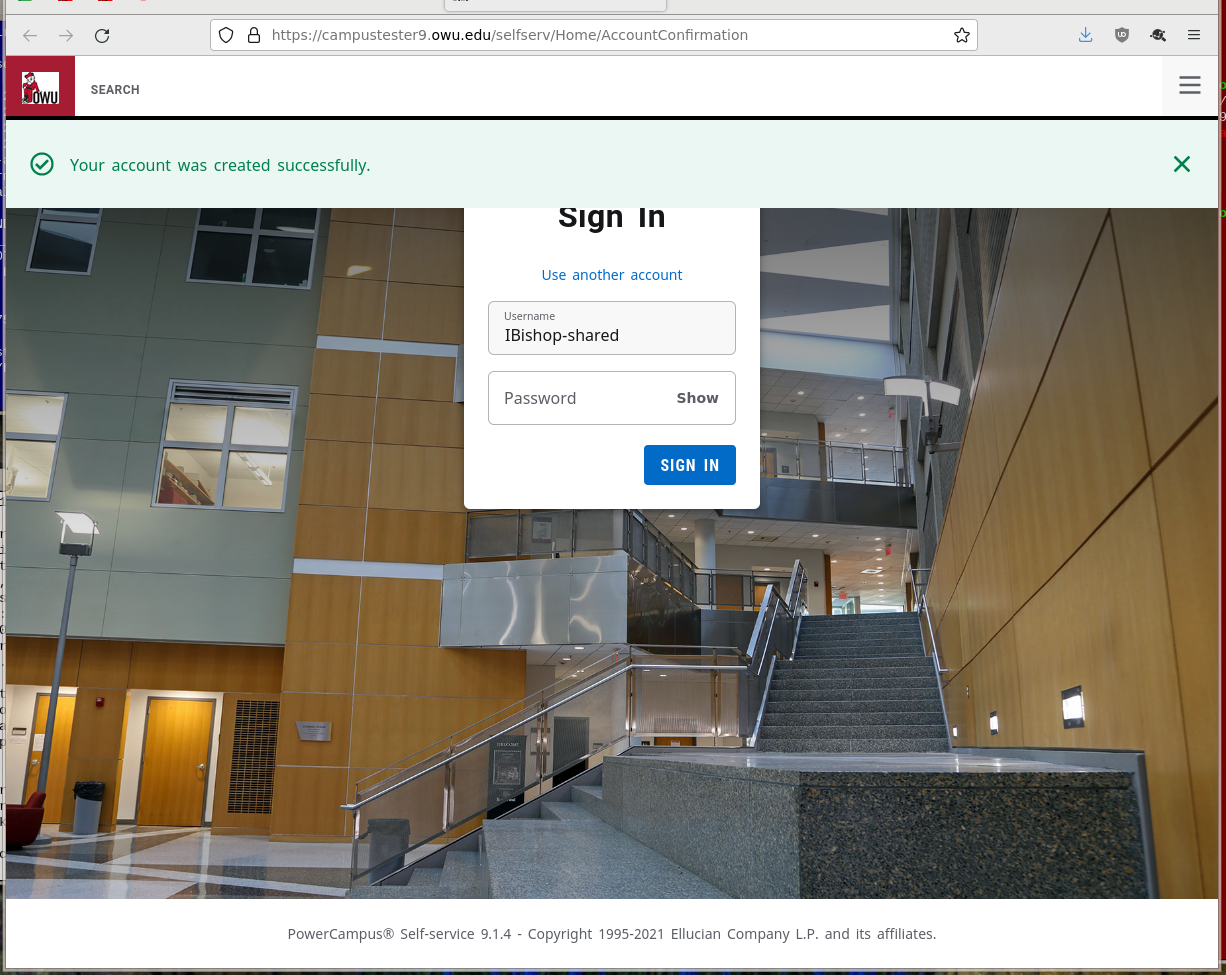
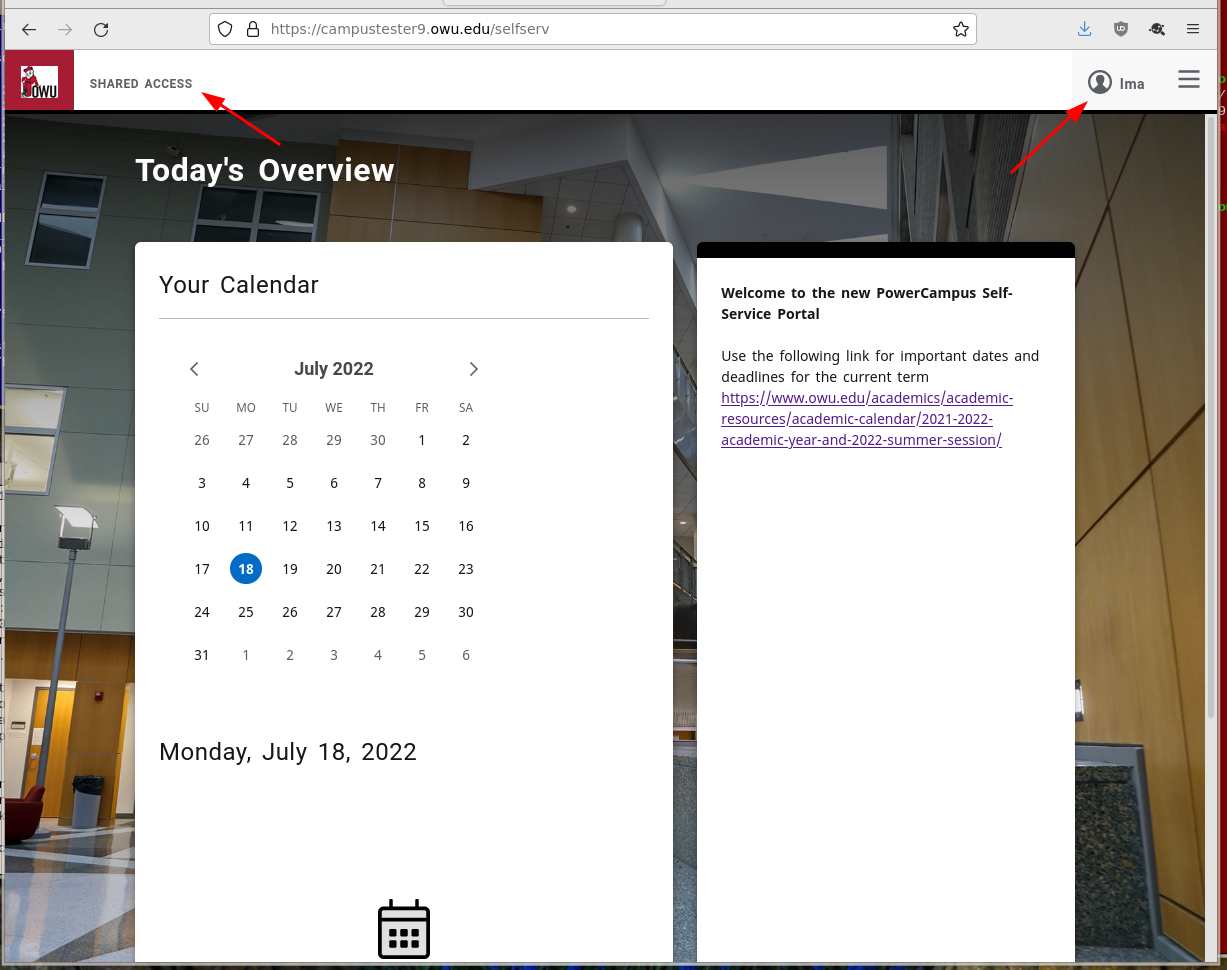
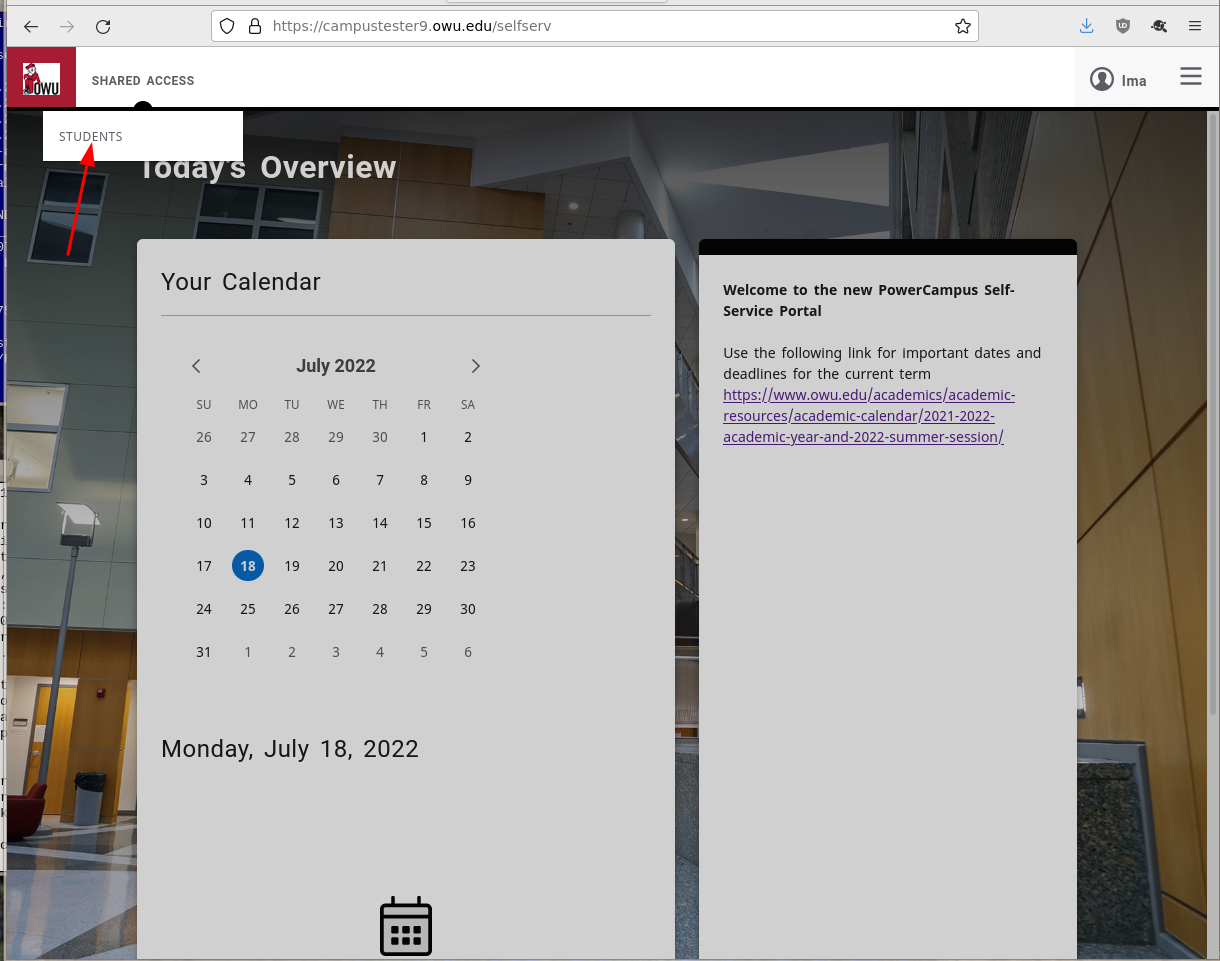
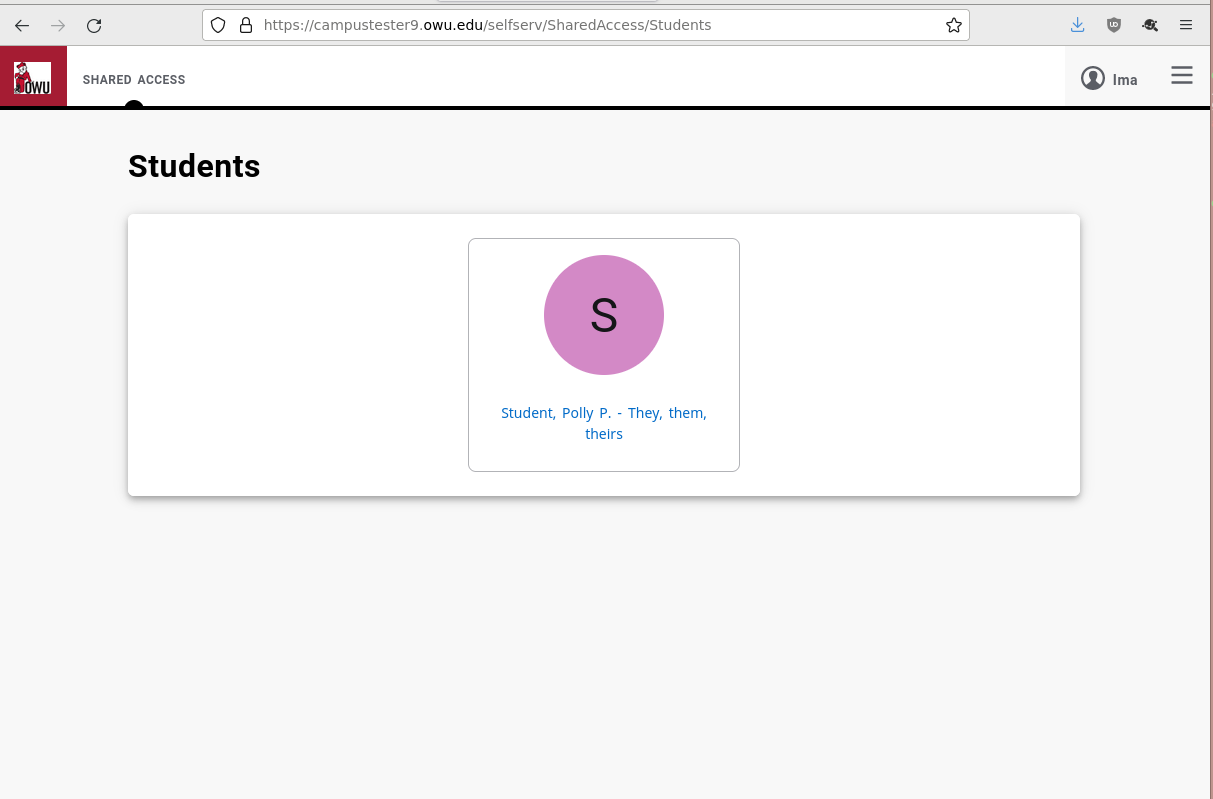
What is OWU Self-Service?
4432 views | 0 Vote this question as useful. 0 Vote this question as not useful. | Last updated on Jan 23, 2025 Faculty Self-Service Self-Service Shared Access Self-Service Student Self-Service
What is myOWU?
4378 views | 1 Vote this question as useful. 1 Vote this question as not useful. | Last updated on Feb 02, 2026 myOWU Reporting Services
How do I get Microsoft 365 on my own computer?
4070 views | 0 Vote this question as useful. 0 Vote this question as not useful. | Last updated on Jun 24, 2025 Microsoft
I graduated years ago, how do I sign up for email for life?
4055 views | 1 Vote this question as useful. 1 Vote this question as not useful. | Last updated on Jun 02, 2026 BishopMail Email for Life (EFL) Google
Are there wired network ports in dorm rooms?
3981 views | 1 Vote this question as useful. 2 Vote this question as not useful. | Last updated on Jul 17, 2024 Internet
How do I register for classes?
3653 views | 1 Vote this question as useful. 1 Vote this question as not useful. | Last updated on Feb 09, 2024 Self-Service Student Self-Service
What is Microsoft 365?
3623 views | 0 Vote this question as useful. 0 Vote this question as not useful. | Last updated on May 08, 2024 Microsoft
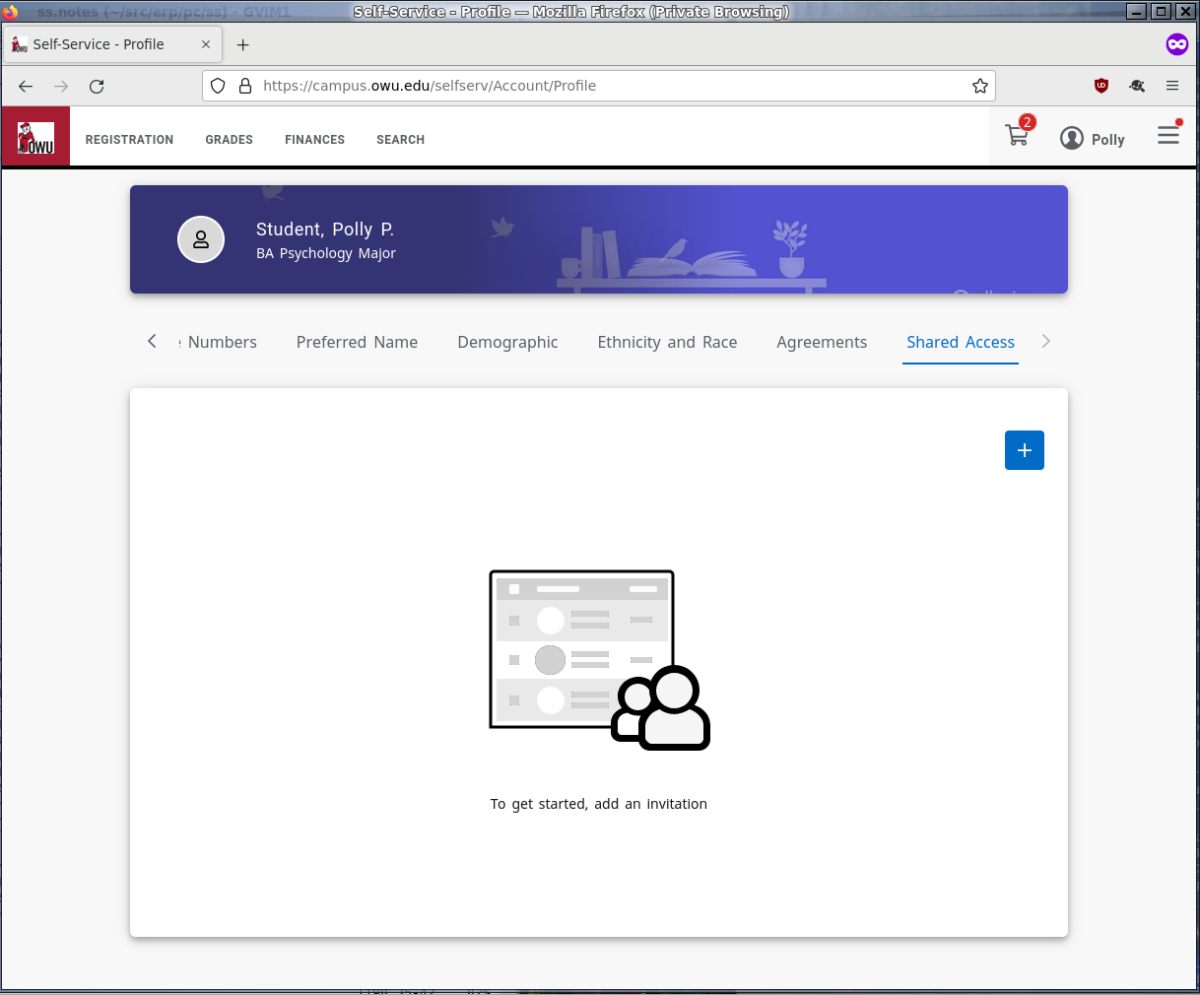
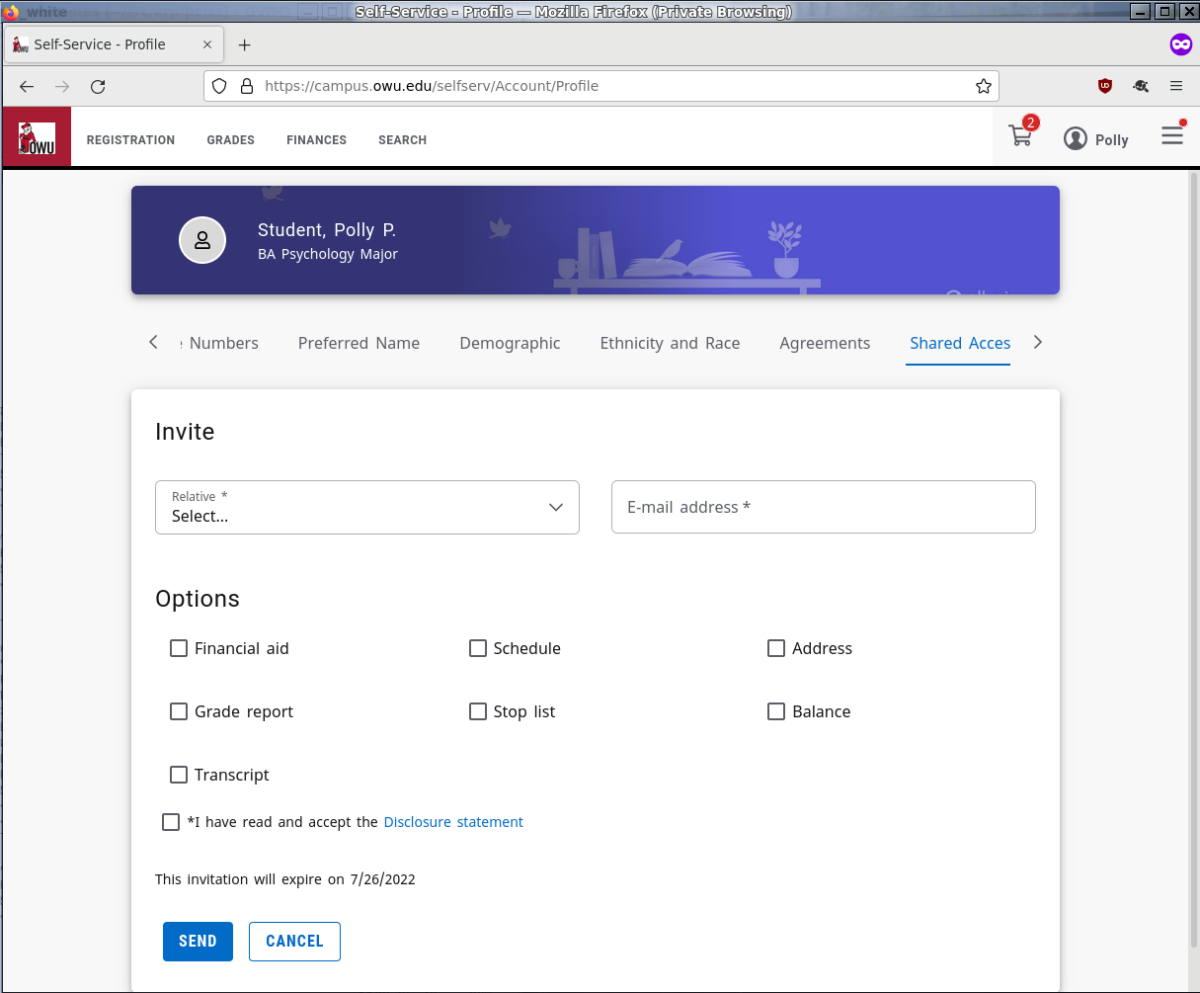
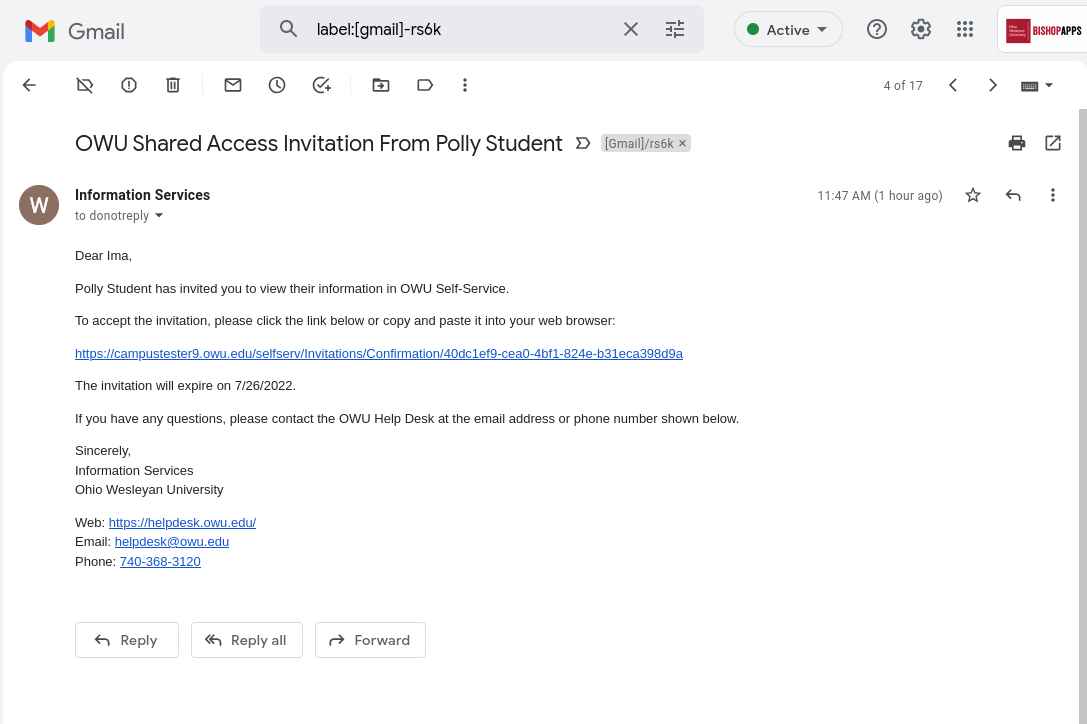
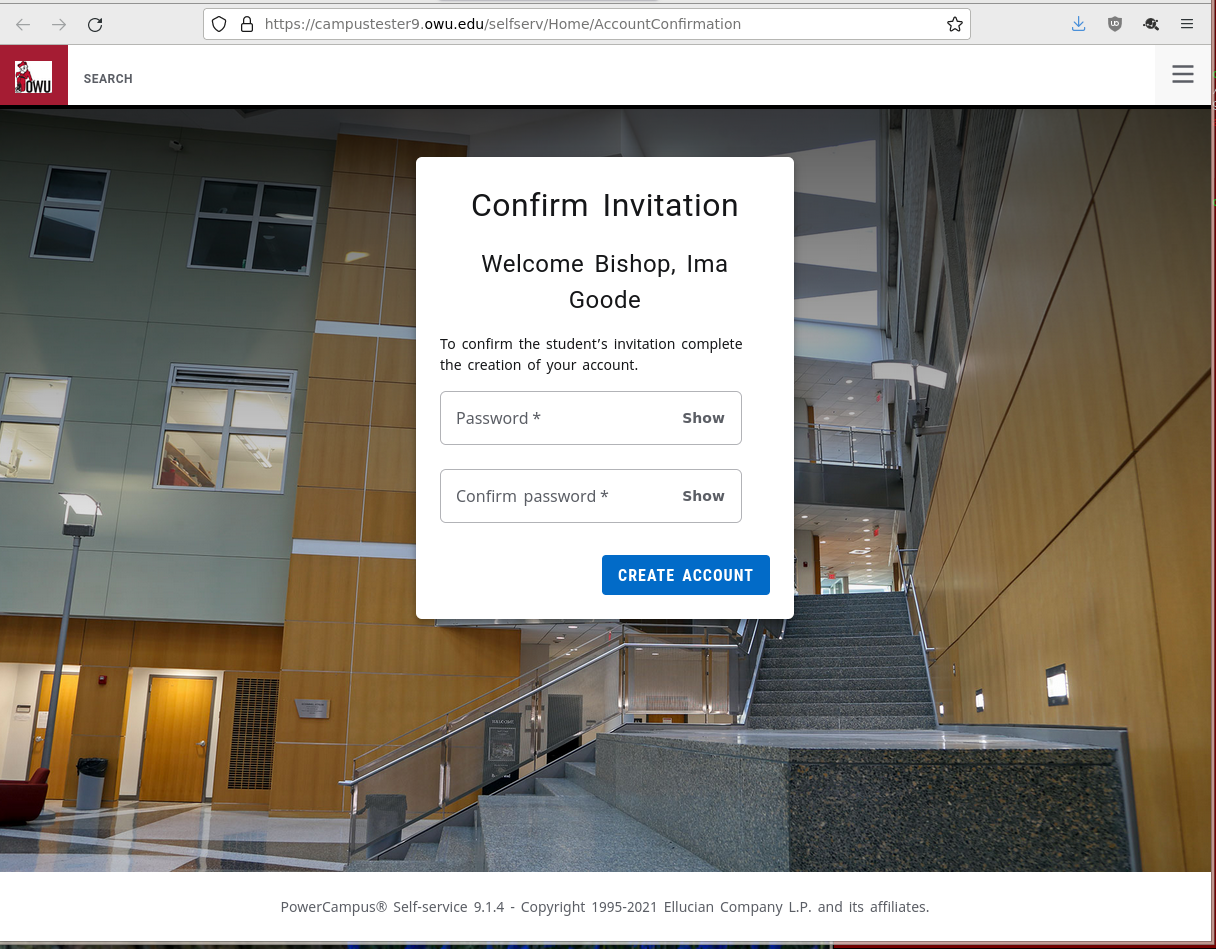
How do I grant access to my academic records to my parents or other family member?
3589 views | 1 Vote this question as useful. 1 Vote this question as not useful. | Last updated on Jan 07, 2025 Nelnet Self-Service Shared Access Self-Service Student Self-Service

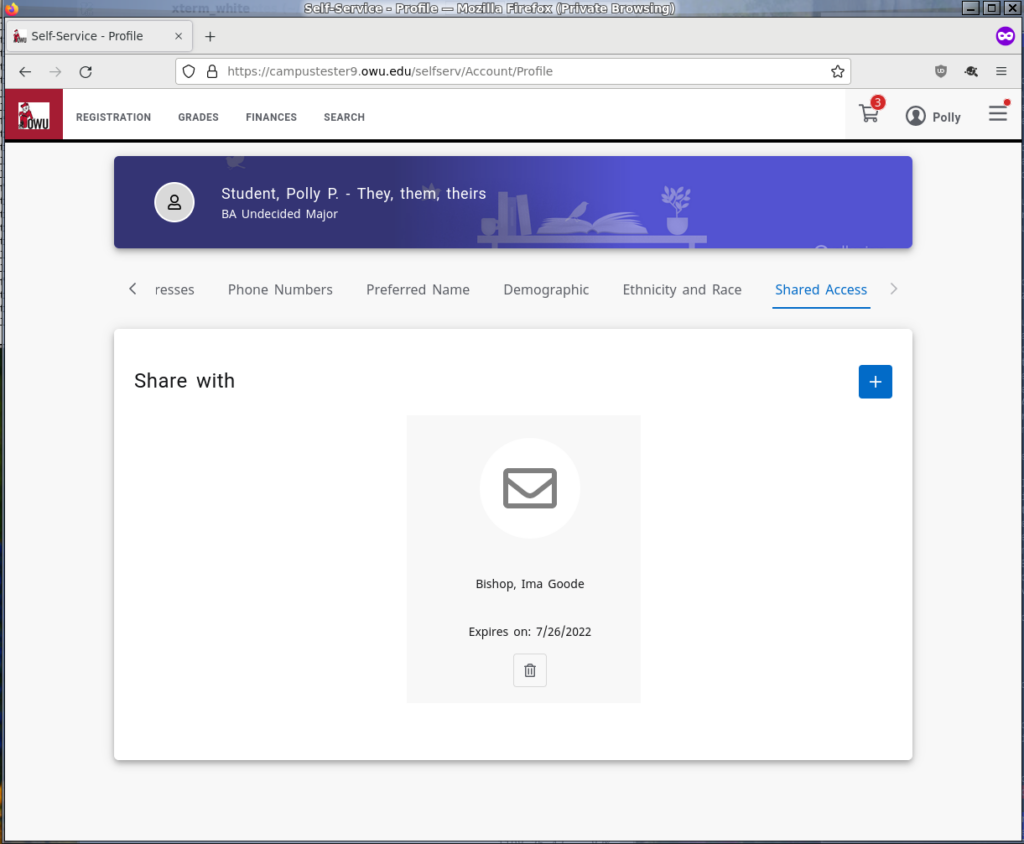
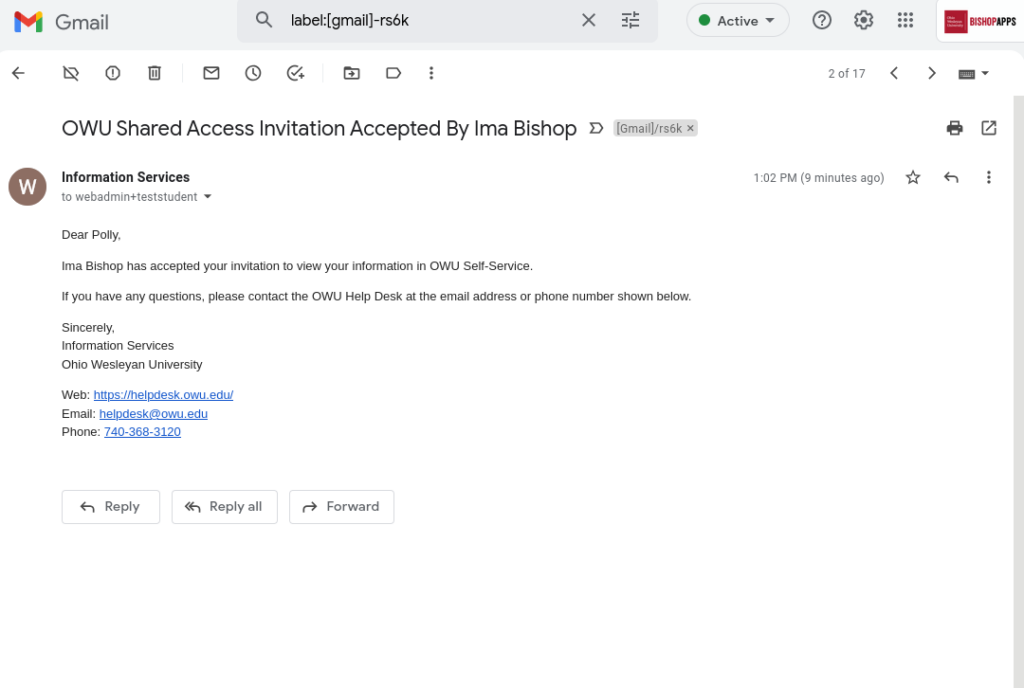
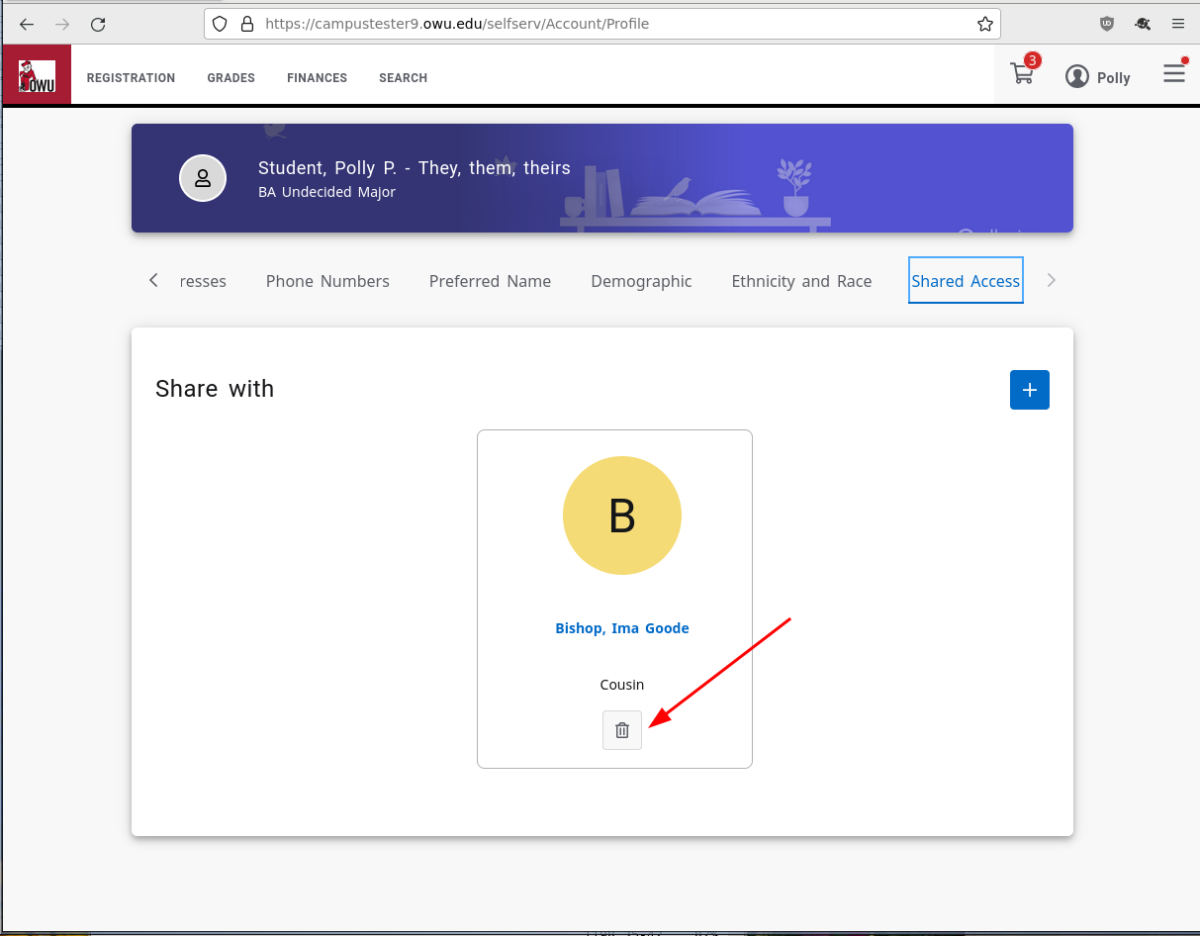
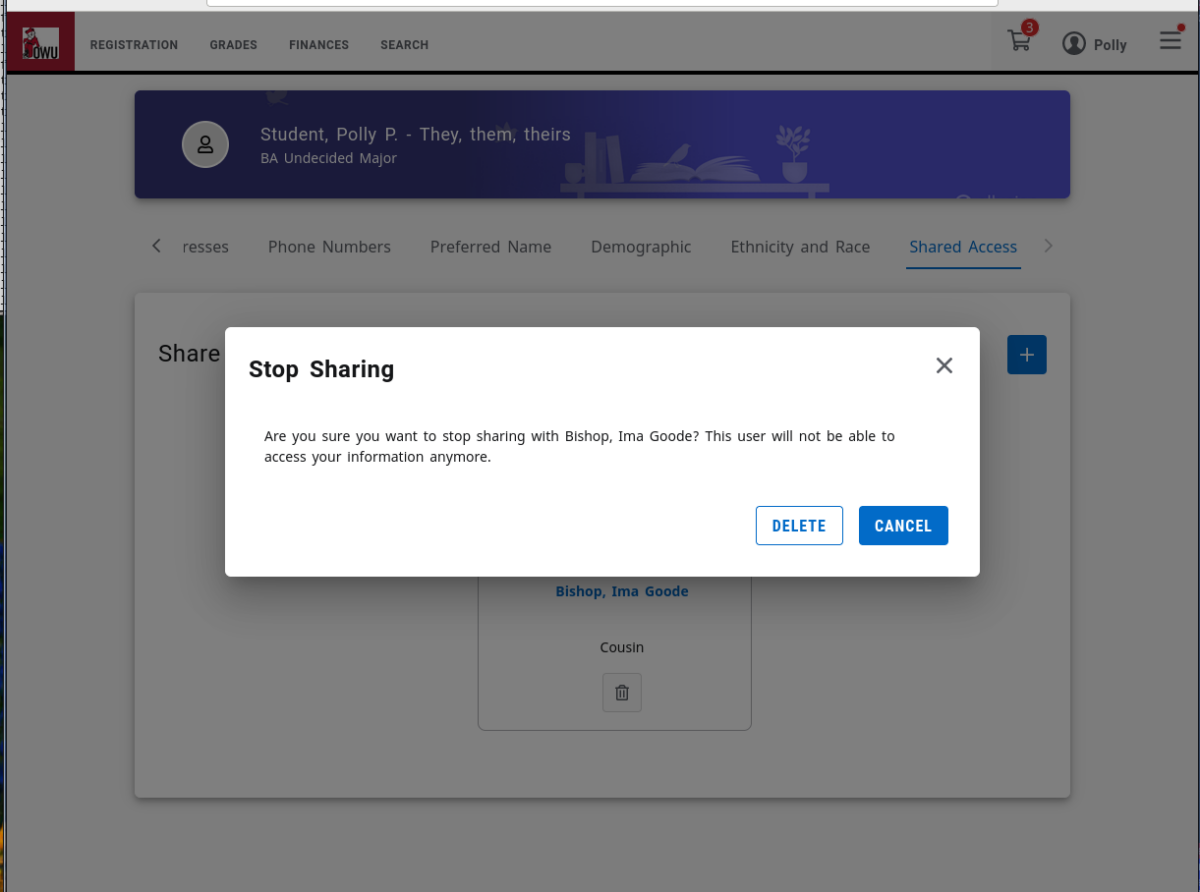
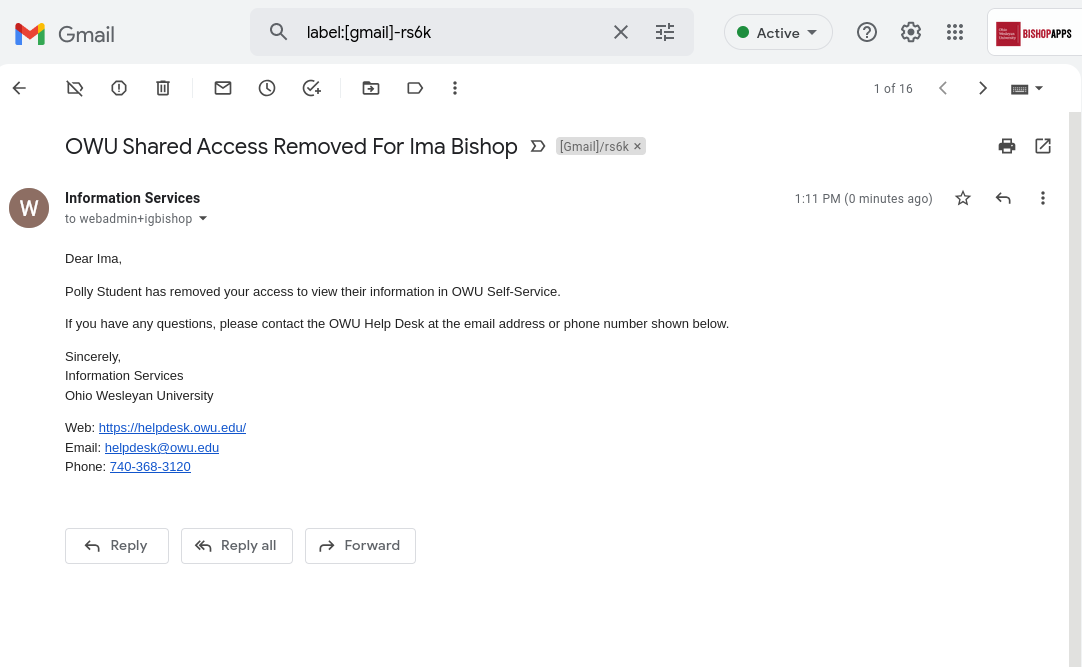
How do I remove a relative shared access from Self-Service?
3514 views | 0 Vote this question as useful. 0 Vote this question as not useful. | Last updated on May 29, 2025 Self-Service
How do I drop a course?
3491 views | 0 Vote this question as useful. 0 Vote this question as not useful. | Last updated on Jan 23, 2025 Self-Service Student Self-Service

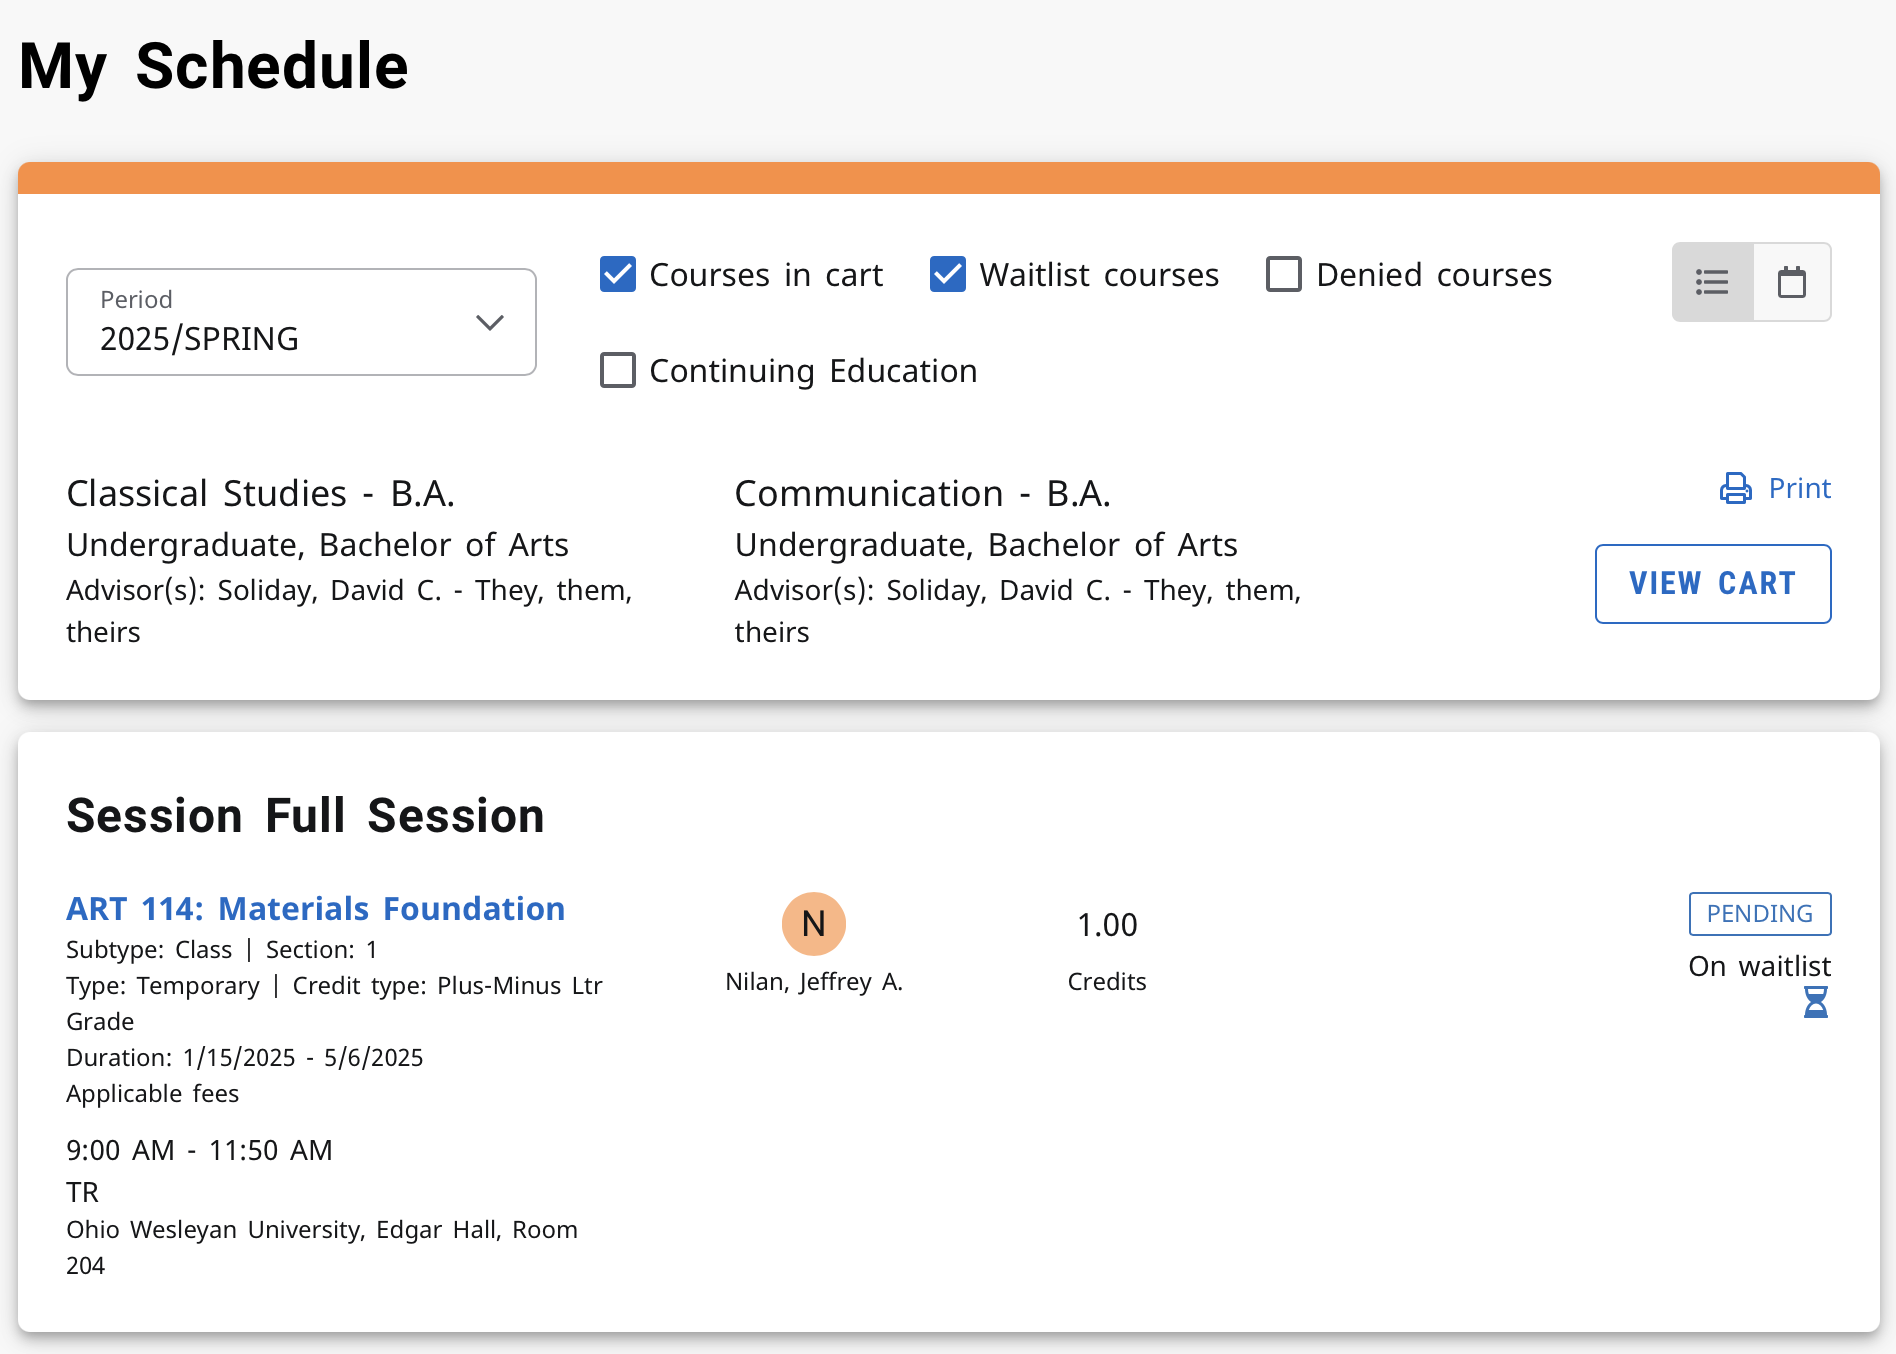
How do I see status for wait list or permission request status?
3341 views | 0 Vote this question as useful. 1 Vote this question as not useful. | Last updated on Jan 23, 2025 Self-Service Student Self-Service
As a parent with shared access, how do I view their information?
3327 views | 0 Vote this question as useful. 0 Vote this question as not useful. | Last updated on Aug 21, 2024 Nelnet Self-Service Shared Access Self-Service
How do I look up my Advisor or Class Level?
3227 views | 0 Vote this question as useful. 0 Vote this question as not useful. | Last updated on Jan 23, 2025 Self-Service Student Self-Service
Where are computers and printers students can use on campus?
3141 views | 1 Vote this question as useful. 3 Vote this question as not useful. | Last updated on Jun 29, 2026 Classrooms Printing
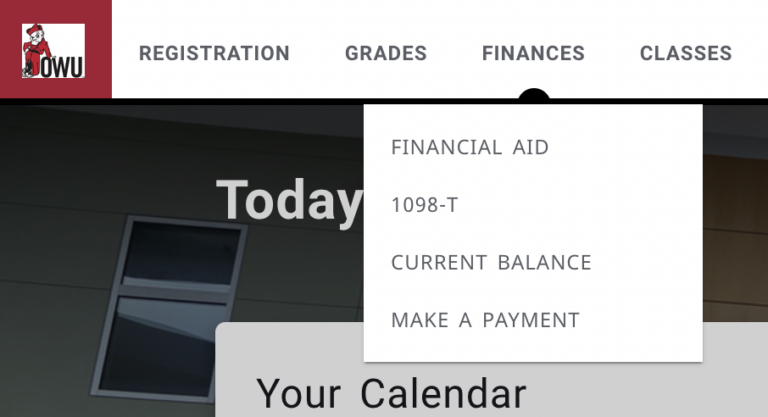
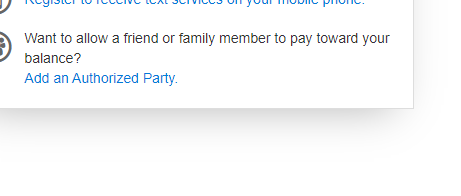
How do I grant access to my financial info to my parents or other family member?
3087 views | 0 Vote this question as useful. 1 Vote this question as not useful. | Last updated on Aug 21, 2024 Nelnet Self-Service Shared Access Self-Service Student Self-Service